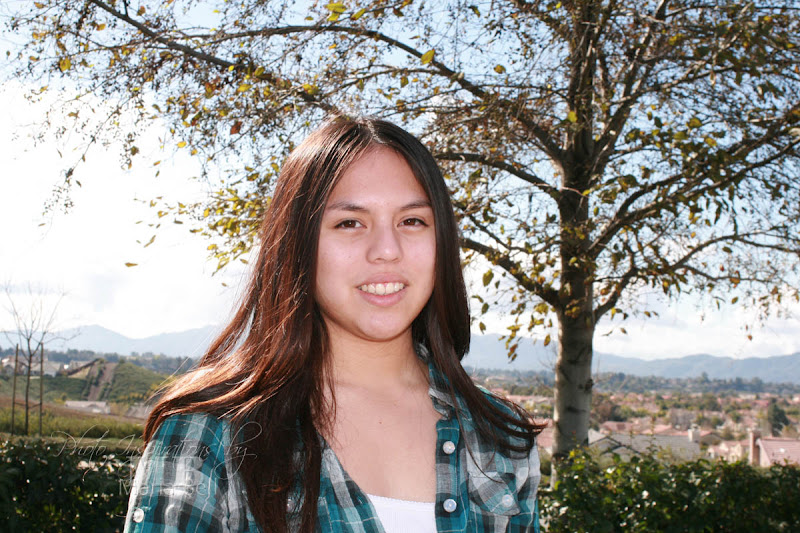
 My daughter and I went to the park earlier today and I took a few photos of her. Just playing around with my camera. I used a 28 - 70mm lense for these pictures. No major photoshop was done on these photos except to desaturate or lighten/darken pictures that I thought were a bit too light or dark. I took all of the photos in auto focus and portrait setting. My daughter don't wear make-up but she still looks so pretty!! Still trying to learn more about my Canon Rebel features.
I think I'm going to play with Photoshop and edit a few of these photos. I'll repost a few of them with a before and after photos in a future posting.
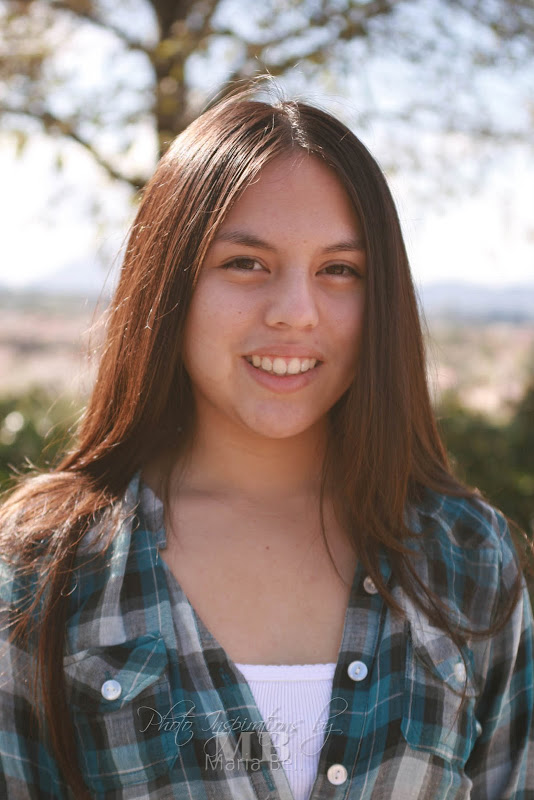
I took this photo with the "portrait" setting but although it suppose to be for headshot photos, I don't like the faded look to it. This setting suppose to result in a better skin tone color. I think it looks faded and the colors are not very vibrant. I think I'll play with Photoshop with this image!

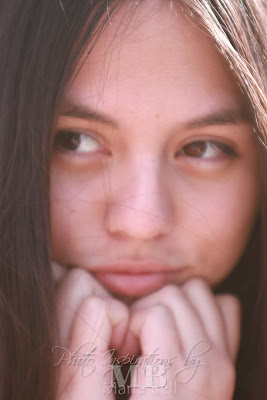
I think I'm going to edit this photo. It's a bit fuzzy looking. The photo was taken exactly as it looks. I didn't crop it but I don't like how the color turned out!


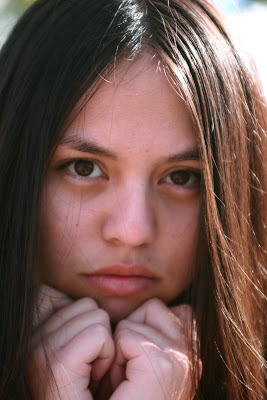
 Just playing around with more photos. With this photo, all I did was desaturate the photo. Here's is a quick tutorial:


