Showing posts with label Tutorial. Show all posts

Sunday, February 15, 2009

Desaturated Photo

. Sunday, February 15, 2009
1 comments

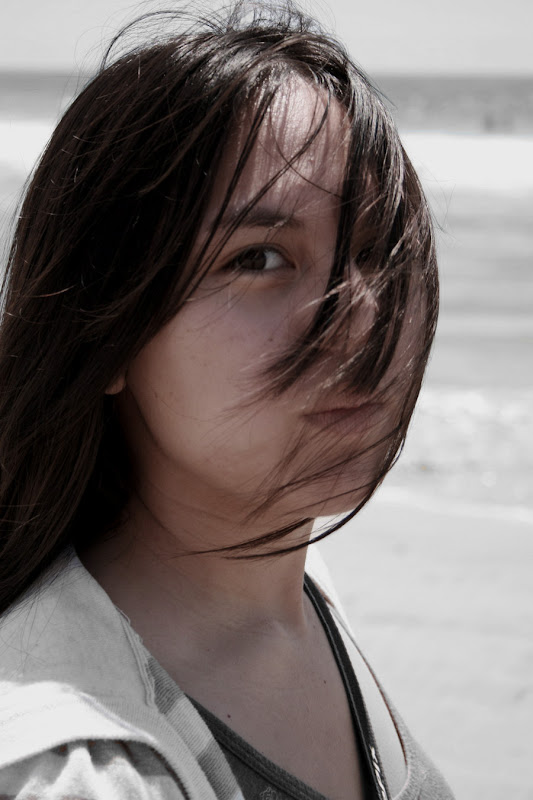
Just playing around with more photos. With this photo, all I did was desaturate the photo. Here's is a quick tutorial:

Click on "Layer" at the menu
Click on "New Adjust Layer"
Click on "Hue/Saturation"
Click on the saturation bar and moved it to the left to reduce the amount of color to the photo.


I reduced the color but not all of it. As you can see the shirt still has some blue color to it and the background is slightly green.


Klik disini untuk melanjutkan »»

Saturday, August 2, 2008

Desaturation and Fade Desaturation Tutorial

. Saturday, August 2, 2008
1 comments


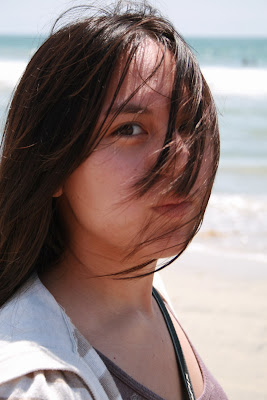
I really love the look of vintage photos with a touch of color. Here is an easy way to create this effect on Photoshop:

  • Rather than reducing the saturation using the percentage scale under the saturation option, click on "image".
  • Click on "adjustments".
  • Click on "desaturate". This completely desaturates (remove all color) your image at 100%.
  • Click on "edit".
  • Click on "fade desaturate". Using the scale, reduce the desaturation and add color. You also have additional options on the type of fade desaturation you want.by clicking on the "mode" drop menu.
  • With my photo, I used "normal" mode and fade desaturated at 50%.
The photo was taken in auto-focus and the portrait setting under direct sunlight.

Klik disini untuk melanjutkan »»

Thursday, June 26, 2008

Lens Flare and Changing the Color of Parts of Your Photo Tutorial

. Thursday, June 26, 2008
2 comments


I decided to look for a tutorial online and see if I can create something cool from something ordinary. I found a tutorial that provides steps on how to give clouds a vintage look and add a flare lens to the photo. Rather than recreating the tutorial, I decided to just link the tutorial because it's a great tutorial for a newbie like me.

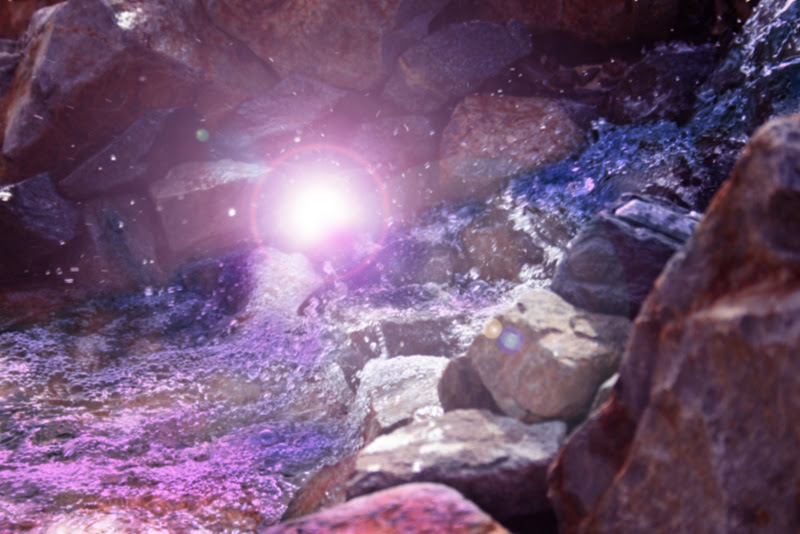
Although my photo is not a picture of a cloud, I decided to see if I can use the tutorial on a photo with running water. The photo is of our waterfall in our backyard that I took a close up photo of. With this tutorial, you can change the color of select areas of your photo as well as add a lens flare (the circular bright light).
I love how it turned out. The modified version reminds me of some sci-fi sort of scene. . .like a different planet. LOL! What do you think? Anyway, try the tutorial out and see what you can come up with!!

Klik disini untuk melanjutkan »»

Monday, June 2, 2008

Photoshop Tutorial - Stitching Photos Together Using Photo Merge

. Monday, June 2, 2008
0 comments


Hi Everyone! Today I was looking for a tutorial on how to merge or "stitch" photos together but I actually wanted to do something more advanced. I wanted to actually "blend" the photos together. As I was looking for the tutorial, I found a "basic" tutorial on how to stitch photos together so it'll be one single piece or single photo. My daughter had given me photos from her camera so I could create scrapbook layouts with them and I wanted to create a layout with 3 photos side by side without having to print them and cut them individually.

Well. . .this basic Photoshop tutorial uses the "automerge" feature to stitch photos together!! I love it because it's so dang simple.

Klik disini untuk melanjutkan »»